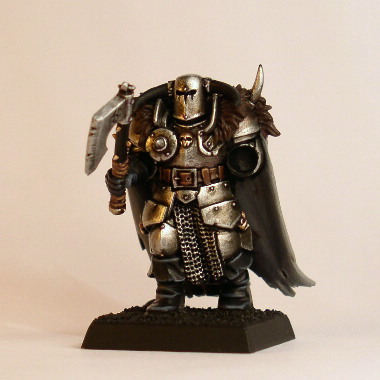
The all-in-one Step-by-Step Guide to painting a Chaos Warrior
This tutorial is the all-in-one tutorial covering the painting process of a Chaos Warrior.
However, the tutorial is also available in bits: See the Tutorial intro.
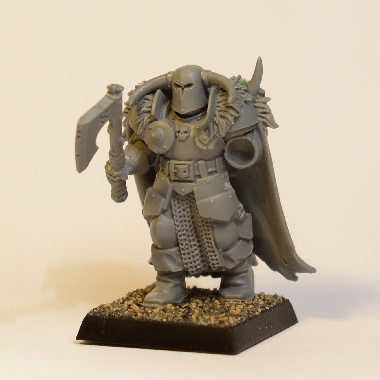
1. The model cleaned up and assembled. I have glued sand to the base with PVA and sealed the sand with PVA thinned with water and a drop of dish soap (to make the glue float in place by it self):
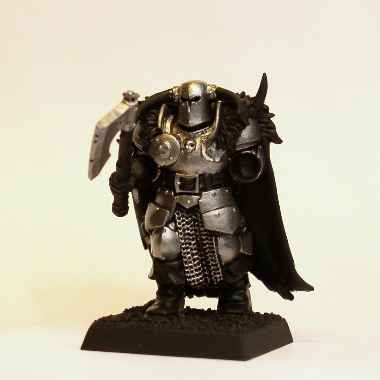
2. Boltgun metal applied over the black undercoat. Do not worry too much about blacklining, but keep it neat and thin the paint if necessary to get a good coverage which is essential for the following stages:
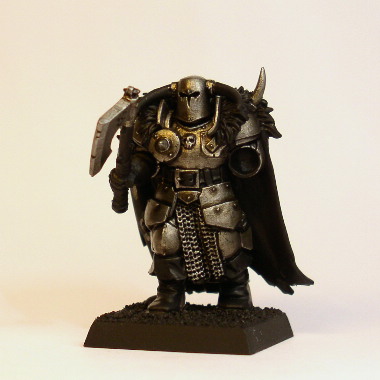
3. The armour is washed/glazed using a mix of Tamiya Clear Orange, Chaos Black, a little Chestnut ink.
The wash is thinned with water and a drop of dish soap is added to make the wash flow easier and the coverage should be something between a wash and a glaze (hard to describe really).
If necessary add a second wash and apply it to the detail that need extra shading:
4. Basecoat on several things:
2:1 Scorched Brown/Beastial Brown mix for the leather areas (belt and axe handle), Shinning Gold for some details on the armour, Codex Grey for the cape, and Scorched Brown for the fur on the cape:
5. Shading of leather and gold areas using a wash of Purple ink with a little Chestnut ink:
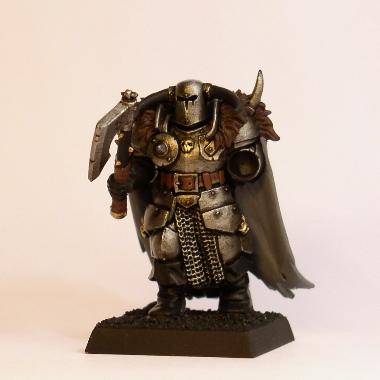
6. The armour is highlighted with thinned down Mithril Silver. Thinning the paint makes it possible to "feather" or blend the highlights.
In practice what I do is to add a slightly transparent highlight and then reinforce it with a second highlight for instance on the very edge of the armour plating.
Rivets and the like are highlighted as much as possible (more details on painting the metal):
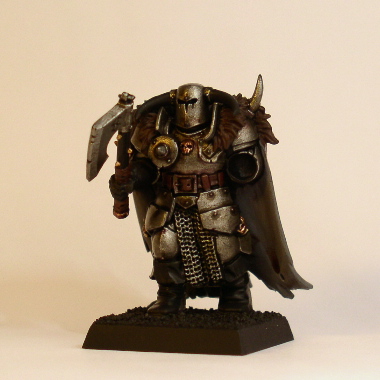
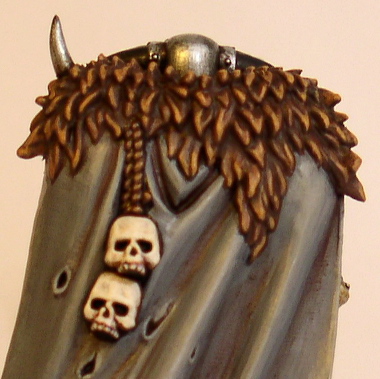
7. The cape is highlighted in 3 stages:
1st highlight with Codex Grey leaving only shading in the deep folds of the cape;
2nd highlight with Bleached bone added to Codex Grey;
3rd and final highlight is done by adding more Bleached Bone to the mix and just "edging" the cape with the brush (more details on painting the grey cape):
8. Highlights on minor details:
Leather is highlighted using the base colour mix (1:1 Scorched/Bestial Brown) followed by adding Desert Yellow to the base colour and finally adding Bleached Bone to the mix (details on painting the leather).
The boots and gloves are highlighted twice by adding Shadow Grey and then a little Space Wolf Grey to Chaos Black.
Gold areas are highlighted using a 3:1 Shining Gold/Mithril Silver mix followed by almost pure Mithril. Finally the Gold is glazed with Tamiya Clear Orange.
9. The fur is highlighted in 3 steps:
First 2:1 Scorched Brown/Vomit Brown, then 1:1, and finally Vomit Brown with just a drop of Scorched Brown added. (more details on painting the fur)
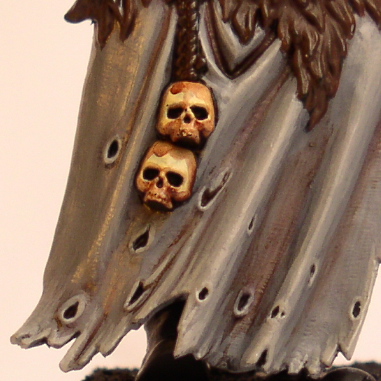
Also, the skull is higlighted with Bleached Bone followed by 1:1 Bleached Bone/Skull White:
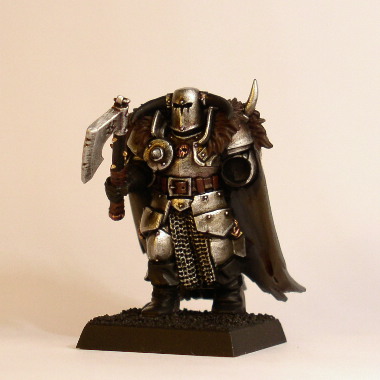
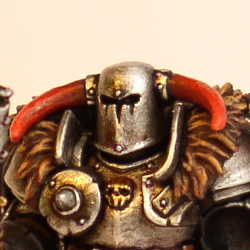
10. The horns were given a dark red basecolour and highlighted with a strong red such as Blood Red. Two successive highlights were painted towards the tips of the horns first adding Dwarf Flesh to the red and then pure Dwarf Flesh (more details on painting the horns):

11. The horns are glazed with a slightly thinned red ink to enhance the red:
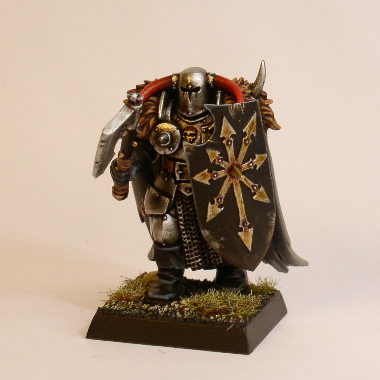
12. The base is done and the shield is added to complete the model!