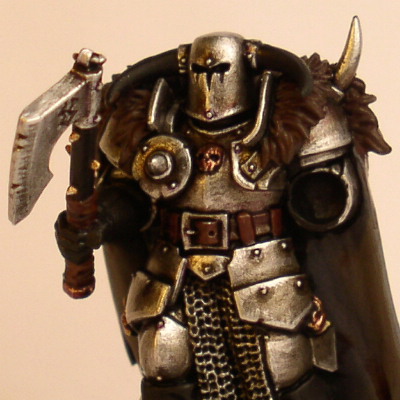
Painting metal - the armour of a Chaos Warrior
This tutorial is only part of a guide covering the painting process of a Chaos Warrior: Tutorial intro.
For a more detailed description on my approach to painting metal go here.
1. Boltgun metal applied over the black undercoat. Do not worry too much about blacklining, but keep it neat and thin the paint if necessary to get a good coverage which is essential for the following stages:

2. The armour is washed/glazed using a mix of Tamiya Clear Orange, Chaos Black, a little Chestnut ink.
The wash is thinned with water and a drop of dish soap is added to make the wash flow easier and the coverage should be something between a wash and a glaze (hard to describe really).
If necessary add a second wash applying it to the detail that need a little extra shading:

3. The armour is highlighted with thinned down Mithril silver. Thinning the paint makes it possible to "feather" or blend the highlights.
In practice what I do is to add a slightly transparent highlight and then reinforce it with a second highlight for instance on the very edge of the armour plating. Rivets and the like are highlighted as much as possible: